Ceramic Tile Installation Instructions on Concrete Floors
Many of complaints are related to the ceramic tile as a floor in home. Began from ceramic tiles cracked or broken, the ceramic tiles surface not flat, ceramic tiles loose from the base, and much more. Conscious or not, such problems like that can actually be solved since the ceramic tile installation phase, because when examined, the cause of the whole problem is ceramic tile installation technique that not according to the instructions.
The technique of ceramic tile installation are divided into six important phases:
1. The phase of preparation surface conditions
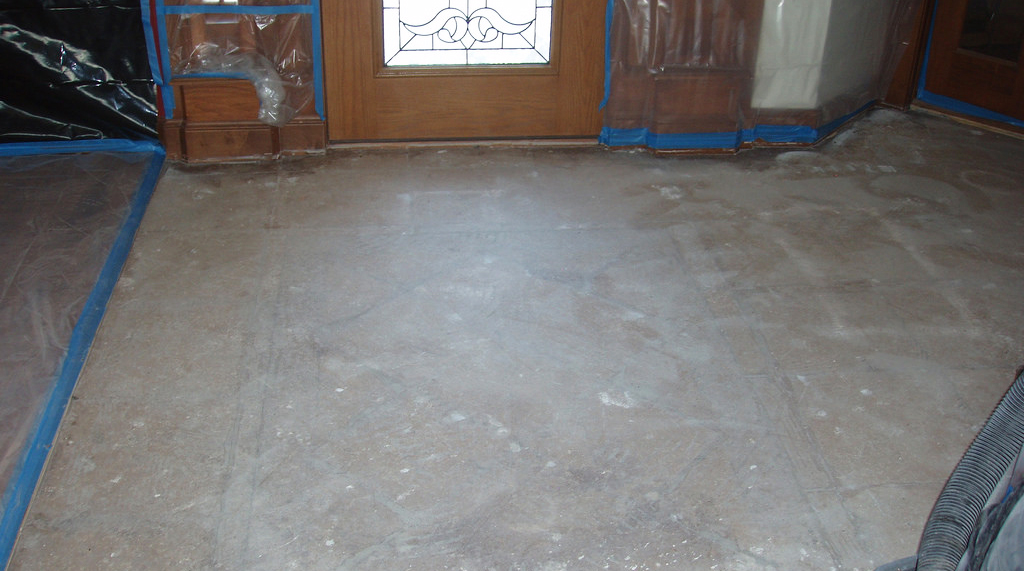
- The earliest thing to be prepared maturity cast concrete that will become the base or foundation of ceramic tiles. Do not start with cast concrete that has not been perfect, because these conditions will cause problems later on.
- If you are absolutely sure the concrete is quite perfect, create cast concrete surface becomes rough. You can use a broom fibers as a tool.
- Make sure the concrete surface free from particles or gravel which is likely to interfere when installing ceramic tile. The usual way to use the builders is destroying these particles with a hammer.
- After all the particles or gravel have been crushed, wipe the dirt with water. For efficiently, just spray with a water hose.
2. Layer screed installation phase
- This phase can be started if the concrete surface (base) in a clean condition and completely dry.
- Install the screed over the entire concrete surface.
- For the screed layer is completely dry, secure with a cover.
- Check the surface to determine the cavity underneath. In order to more easily detect the presence of cavities, tap gently the surface with a hammer.
- Do not forget to mark the lines of installation.
3. The phase of preparation ceramic tile installation
- In order for ceramic tiles installed straight and flat, make a sort of guidelines. These lines are made with yarn tied end to end on the surface to be installed ceramic tile tiles.
- If the ceramic tile installation using mortar as an adhesive, preferably wet the entire surface.
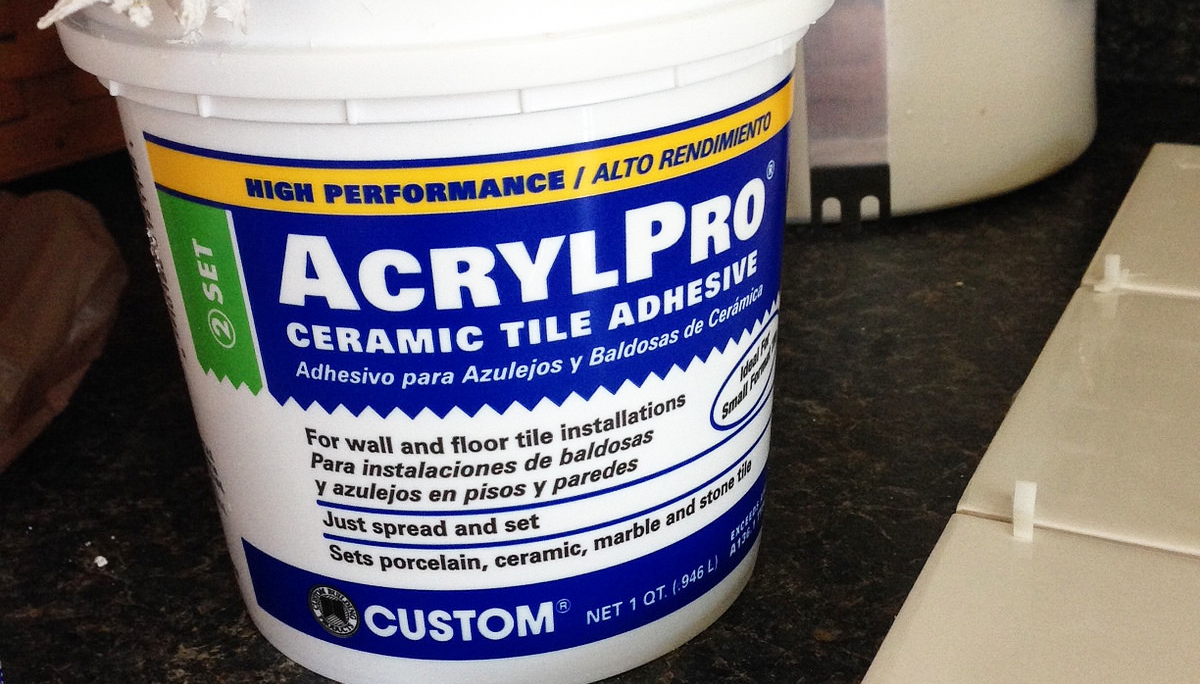
- If the ceramic tile installation using adhesive (adhesive ready to use), follow the instructions on the product label.
- Never use the adhesive expired. Expired adhesives have weak adhesion.
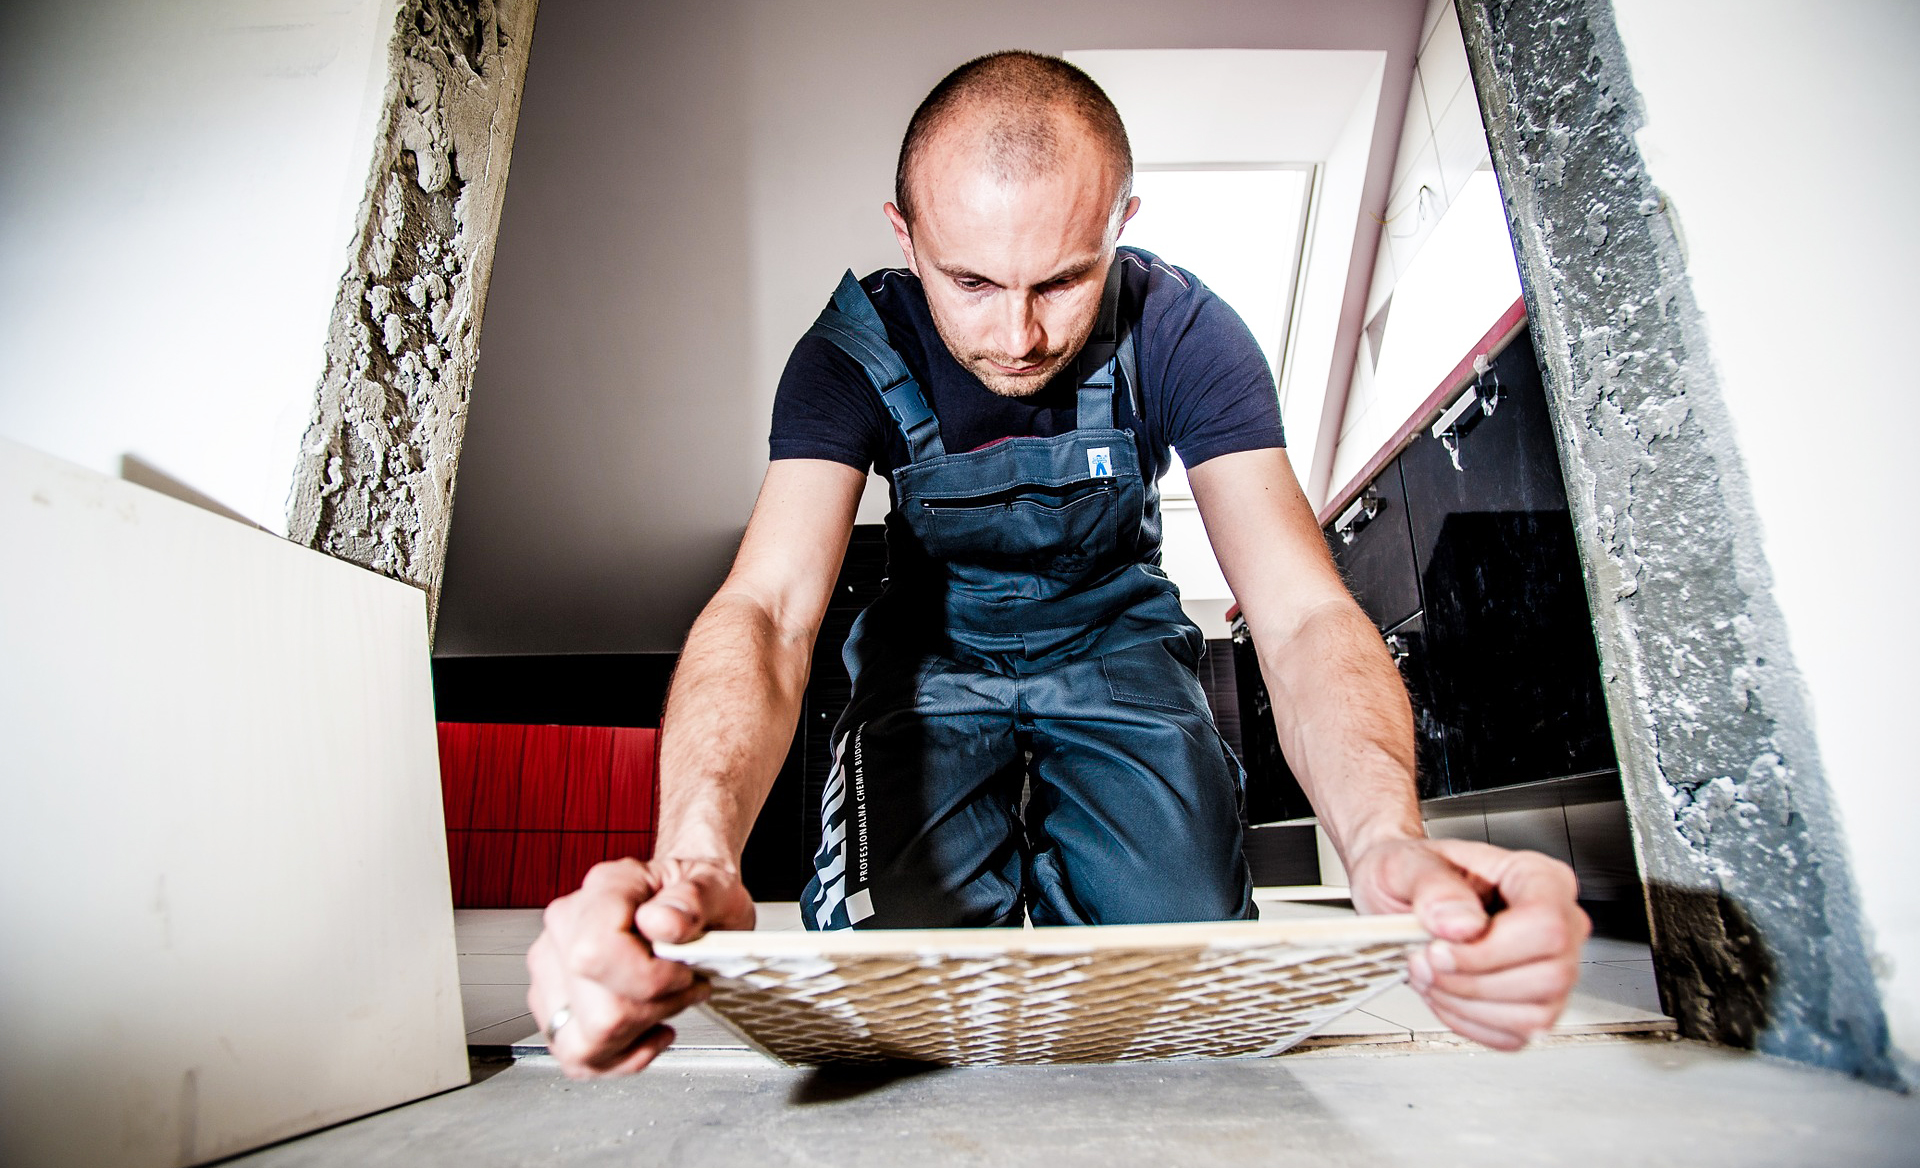
- Put adhesive on the surface of ceramic tiles to be installed with the help of rubber float.
4. Phase of ceramic tile installation
- Do not install the ceramic tiles with a poor lighting. Inadequate lighting can interfere the straightness the ceramic tiles.
- If the adhesive used is a mortar, soak first the ceramic tiles that will be installed in a bucket of water.
- If the adhesive to be used is adhesive, clean the ceramic tile base
- After ceramic tile installation is finished, tap gently the ceramic tile surface with a rubber mallet to ensure the ceramic tiles attached perfectly.
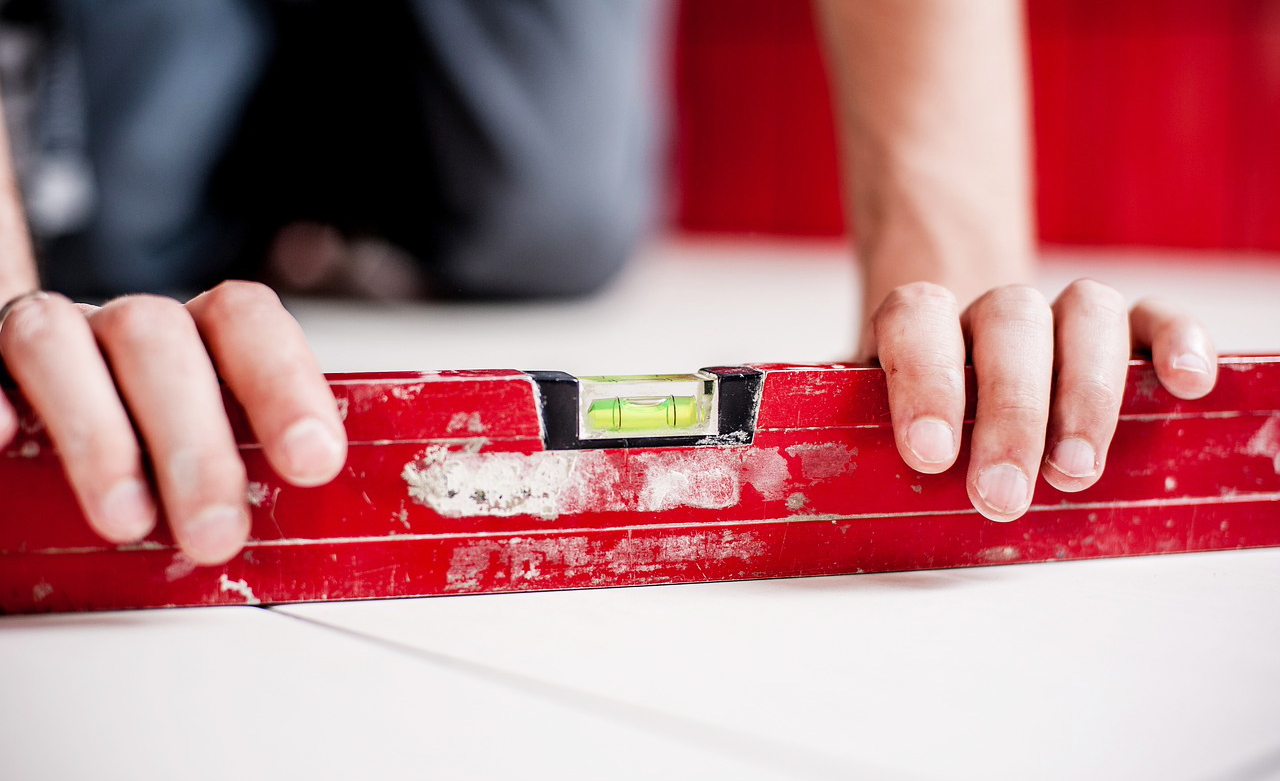
- Do not forget to always check the straightness and flatness level the ceramic tiles
- Clean the surface of the ceramic tiles with a dry cloth or sponge.
5. Nat installation phase
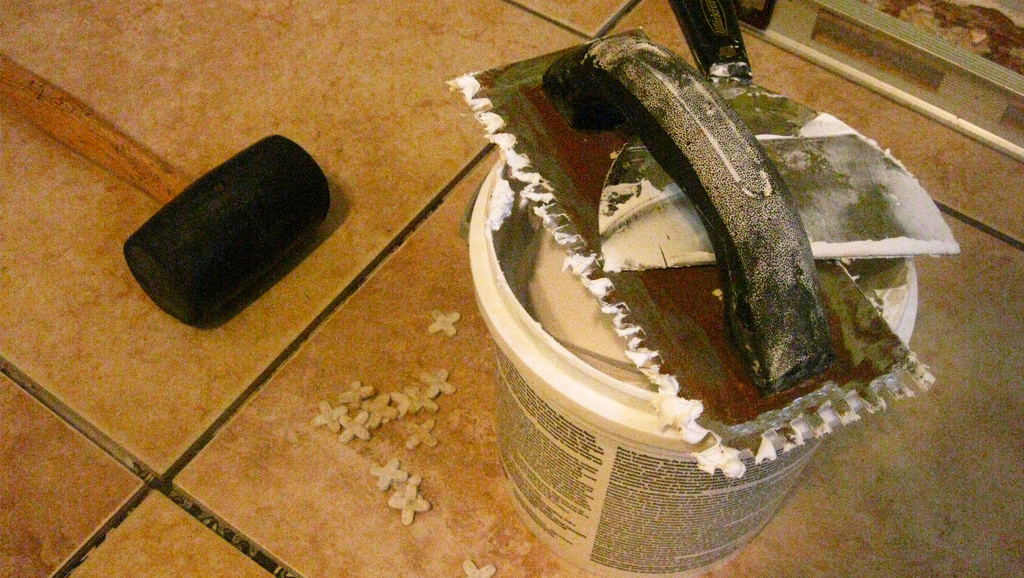
Estimate the dough adhesive is too thick or too little
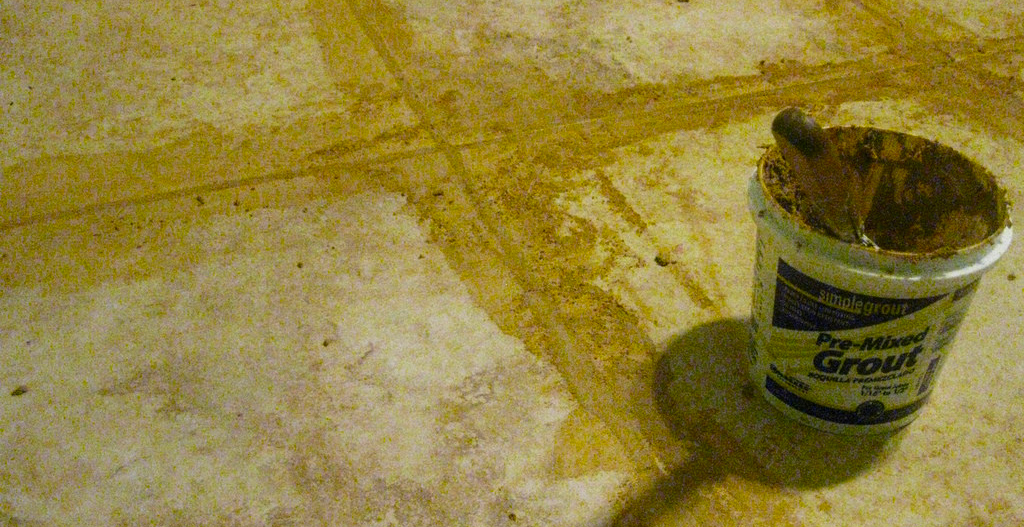
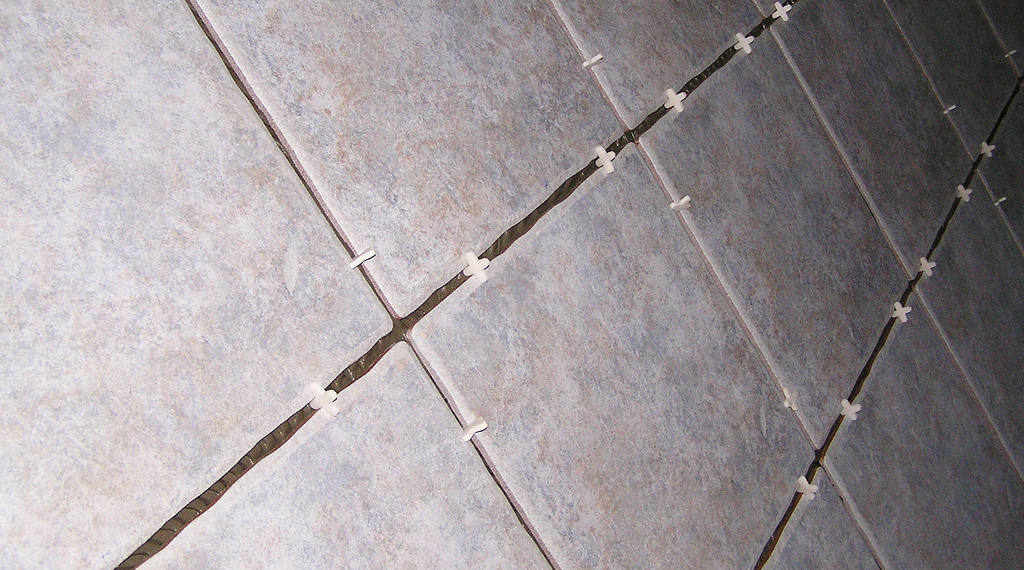
- Fill the gaps between the ceramic tiles with grout (gap fillers). Use a rubber float to make it easier the installation.
- Clean the rest of the grout on the ceramic tile surface with a wet cloth or sponge.
6. Phase of protection
- Close the ceramic tile surface with plywood, tarps or plastic until dry completely.
- Ceramic tile needs time to expand and shrink until reaching their stability. Wait a few moments for the ceramic tile glued perfectly.
- Give instructions or – if necessary – post signs labeled “The floors in this area are recently installed”. It is expected that no one passing through or stepped on it.
So, that is ceramic tile installation instructions on concrete floors. Hopefully, this article can helpful for the readers. Thank you for visit our blog. Do not forget to share this article for helpful the others readers.

