How to Get Perfection Floor Tile Installation
[alert style=”info”]
Note: These instructions are intended for installation of ready-adhesive vinyl tiles, the easiest to install. However, in principle, all types of floor tile installation is more or less the same way. But, if the tiles that will be installed are not ready-sticking, make sure to use the proper adhesive, and only greasing sufficiently every time you install. To install a hard type of tile in large quantities, you should ask for the help of experts: besides because of the weight, the tile of this type are difficult to cut. In fact, there should be installed by using cement.
[/alert]
Floor tile installation is the work that is quite challenging. Installing tile floor by yourself would be more economical than hire professional handyman services. Even so, make sure you prepare a good plan and understand how to install floor tiles correctly.
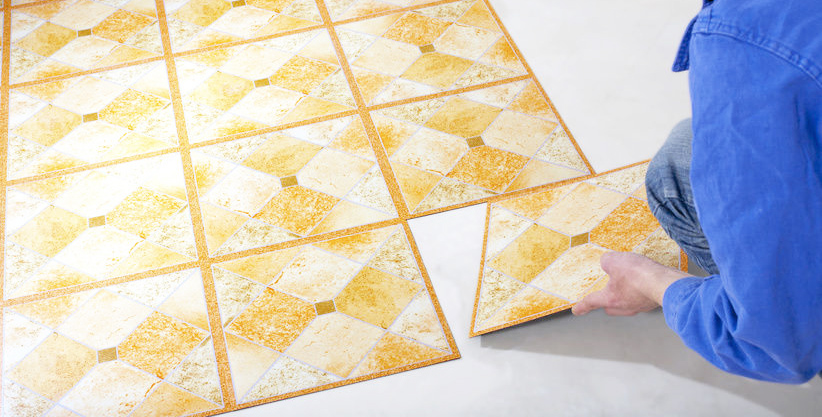
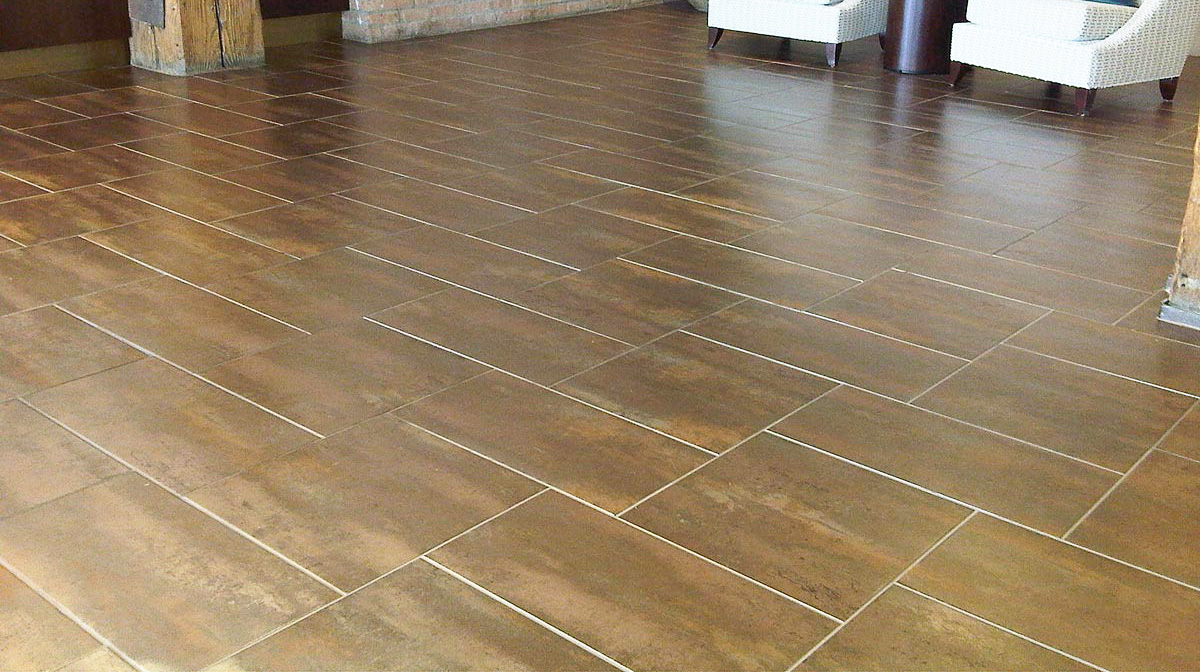
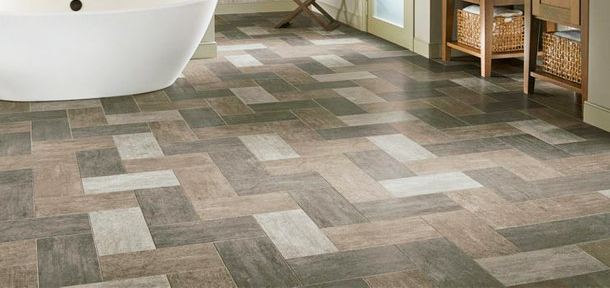
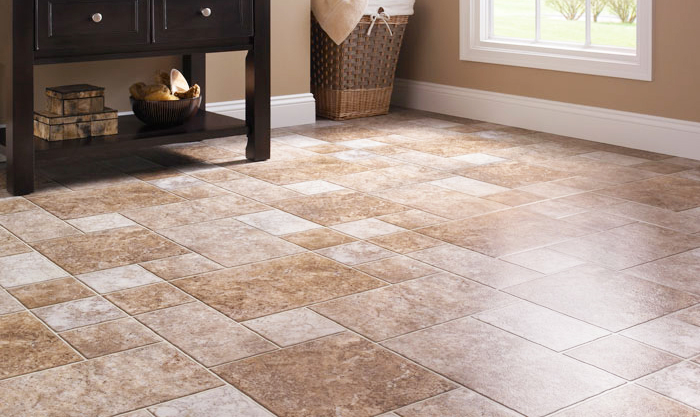
There are various patterns of floor tiles available in the market. Floor tile patterns can reflect the style of your home. One popular pattern is a diamond. Diamond pattern composed of a collection of solid diamond which gives the impression of solid and elegance. Diamond pattern is very suitable for the kitchen area, bathroom, and entrance way. The next pattern is the marble pattern with smooth strokes suitable for bathrooms and office room. There is also a floral pattern that is suitable for the entrance and kitchen. A variety of patterns, from simple to elegant can be adjusted based on the plan of your home interior design. In order to be a harmonious unity of design, customize patterns, layout, and color of the floor tiles.
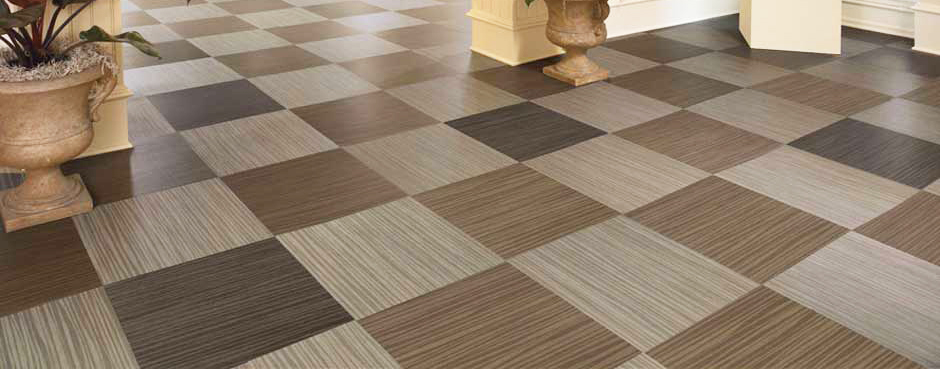
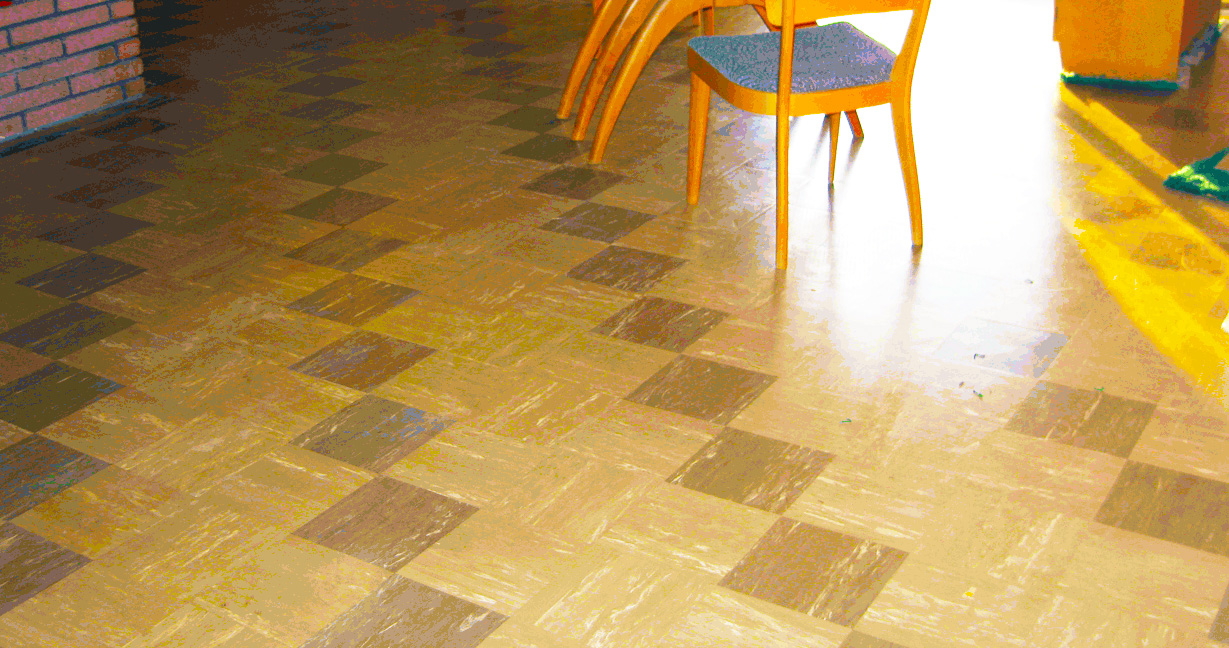
Floor tiles, just as wall tiles, can be used creatively to create the pattern you want. Imaginative design that can help improve the proportions of the room. The lines are installed widening would make the field of the floor did not seem very long and narrow. While a chequerboard effect gives the impression of a larger space.
Just as wall tiles, floor tiles also need to be focused on the middle floor. If you create a pattern, draw a draft scale on paper boxes. It aims to find out tile with good position and amount of color tiles required, so that makes it easier when installing floor tiles later. No matter how good the results of these calculations, always keep a few extra tiles to anticipate the damage and shortages.
Keep the tiles, especially cork tiles, linoleum, and vinyl in the room to be coated for approximately 48 hours to adapt to room conditions. Make sure that you are providing an appropriate adhesive. Some types of vinyl tiles can be directly bonded by just peeling off the back. Cork tiles are not varnished should be varnished after installation.
Before Starting Floor Tile Installation
Make sure that the surface to be tiled is stable and flat. If the base floor bumpy, use hardboard or chipboards before installing the tile.
Hardware Floor Tile Installation
1. Meter iron
2. Ruler straight
3. Chalk lines (ropes smeared chalk)
4. Pencil
5. Knife Chisel
6. Board to cut
7. Profiling tool and scissors sharp, if you want to adjust the shape of tiles with certain objects, such as bathroom accessories.
Installing Floor Tile Ready Paste
1. Find the midpoint of the room by marking the midpoint of the two opposite walls. Pluck the chalk line at the confluence of the two points. Do the same thing on the other two opposite sides of the wall. After finding the middle point of the room marked with a cross.
2. Install the tile floor without adhesive, so the problem related with installation will be visible before gluing the tiles.
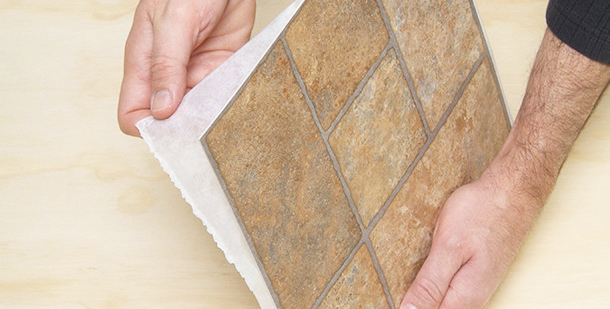
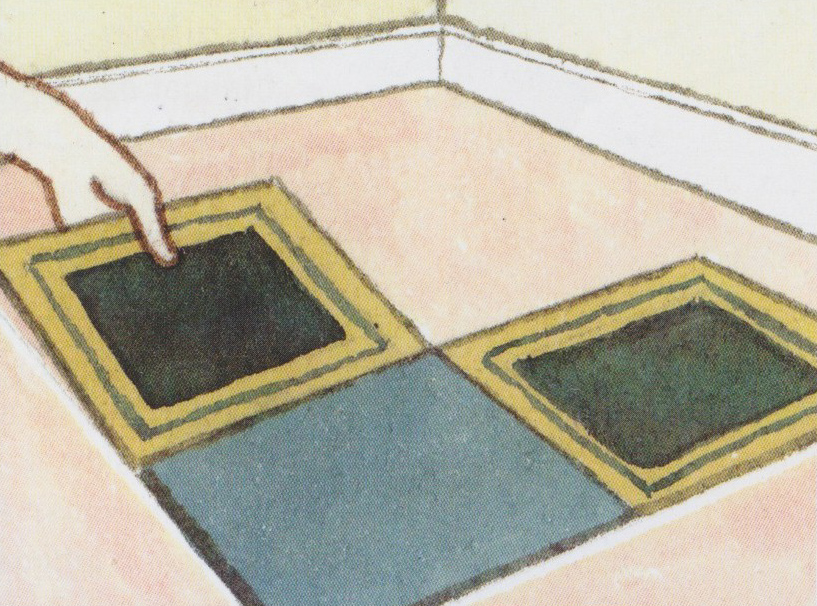
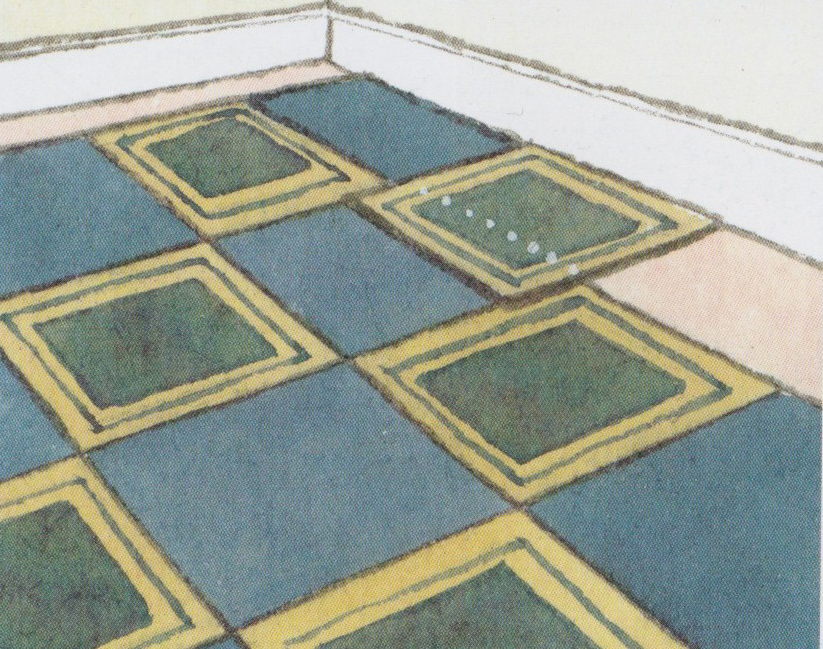
3. Peel the back of the first tile, then place the two arms of the midpoint of the room. Push slowly but surely. Work begin from the middle toward the side of the room. Connect the sides of the tile with caution and check the suitability of a pattern.
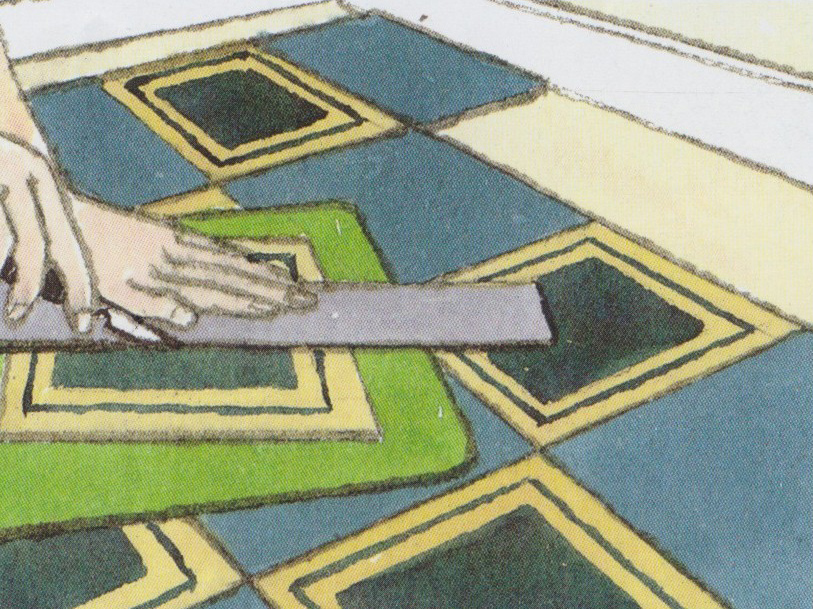
4. You may have to cut the tiles to fit the size with side rooms. Place a tile (do not exfoliate first rear) over the last intact tile, and mark with a pencil and ruler straight on the part to be cut.
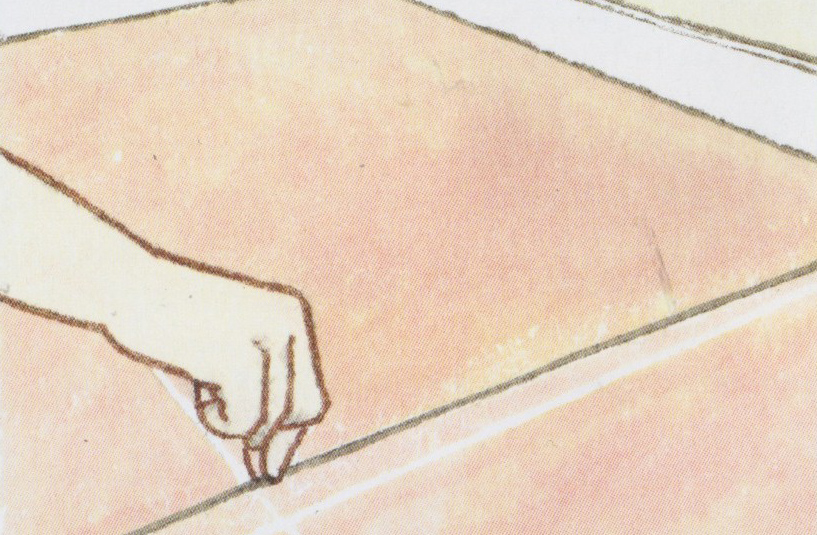
5. Cut the tiles on the board by using a carving knife and a ruler.
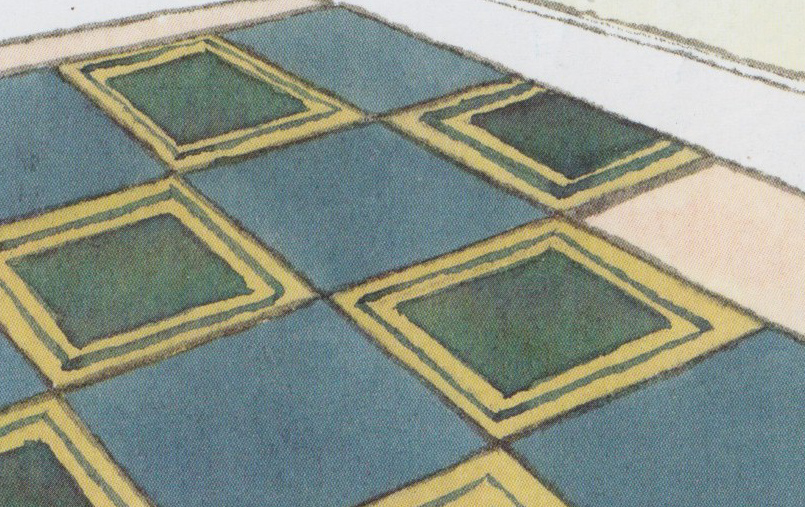
6. Peel the back side of the tile, and install it in position with truncated facing the wall, so that not to touch the sides of the last tile.
7. To cut tiles that are not rectangular (rarely wall actually straight), you need to twist the tiles and mark its equivalent or measure the gap formed carefully. For forms awkward, especially winding, use a profiling tool to mold the desired shape. The winding shape may be more easily cut with scissors.
So, that is how to get perfection floor tile installation. Hopefully, this article can helpful for the readers. Thank you for visit our blog. Do not forget to share this article for helpful the others readers.

