How To DIY Personalized Coir Christmas Door Mats And Show Your Joy! | Roy Home Design
Christmas is around the corner. The joy of snow and the glittering tree will come soon to your home. But one particular aspect that can step up your Christmas decoration is the doormats. It is what the people see when they come to visit. But to make it more interesting, adding personal touch using DIY Coir Christmas door mats will be awesome. Here is what you should do.
See also: Check Out This 4 Creative Grinch Christmas Door Decoration Ideas
DIY Step To Make Your Christmas Personalized Door Mats
-
Get Your Coir Doormats and paint
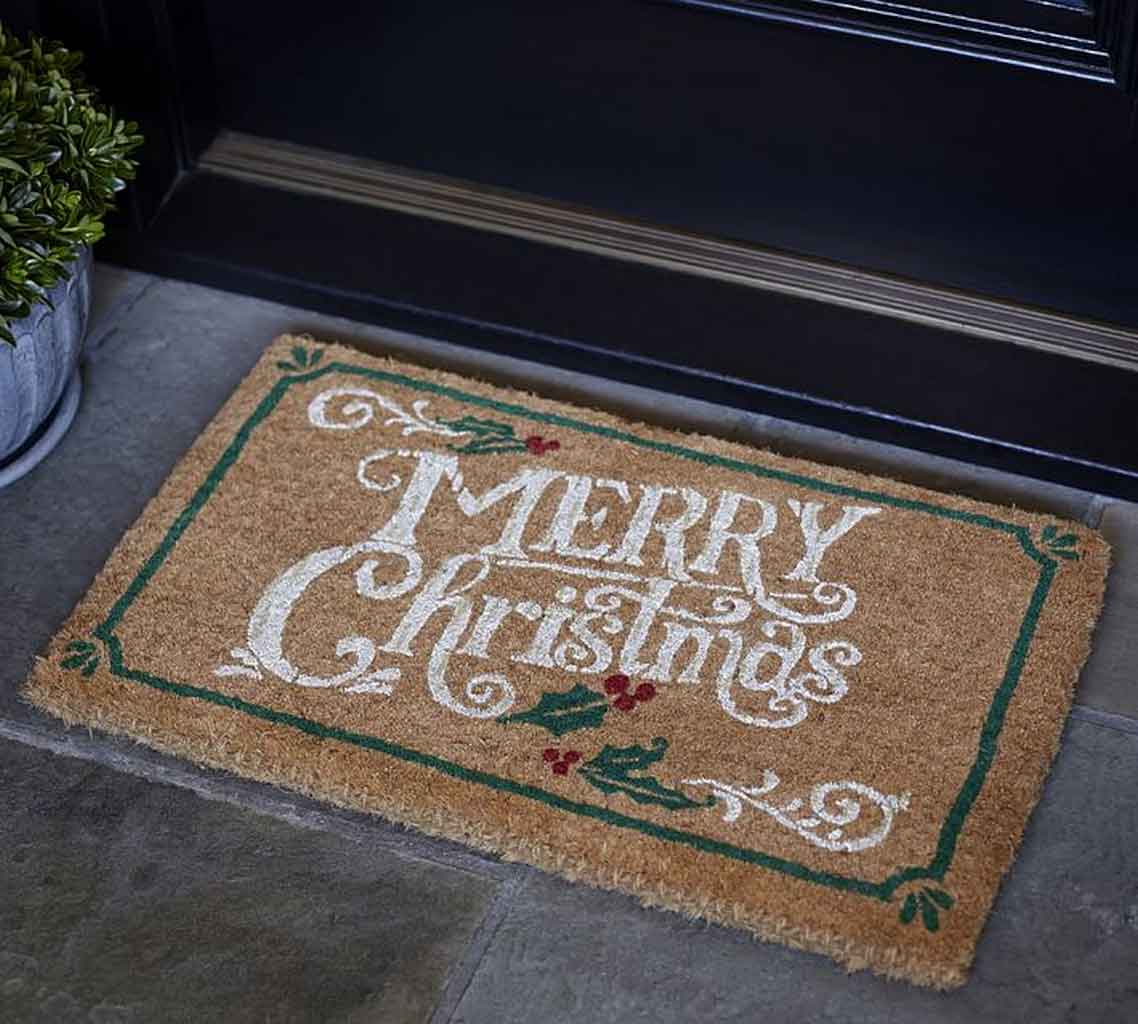
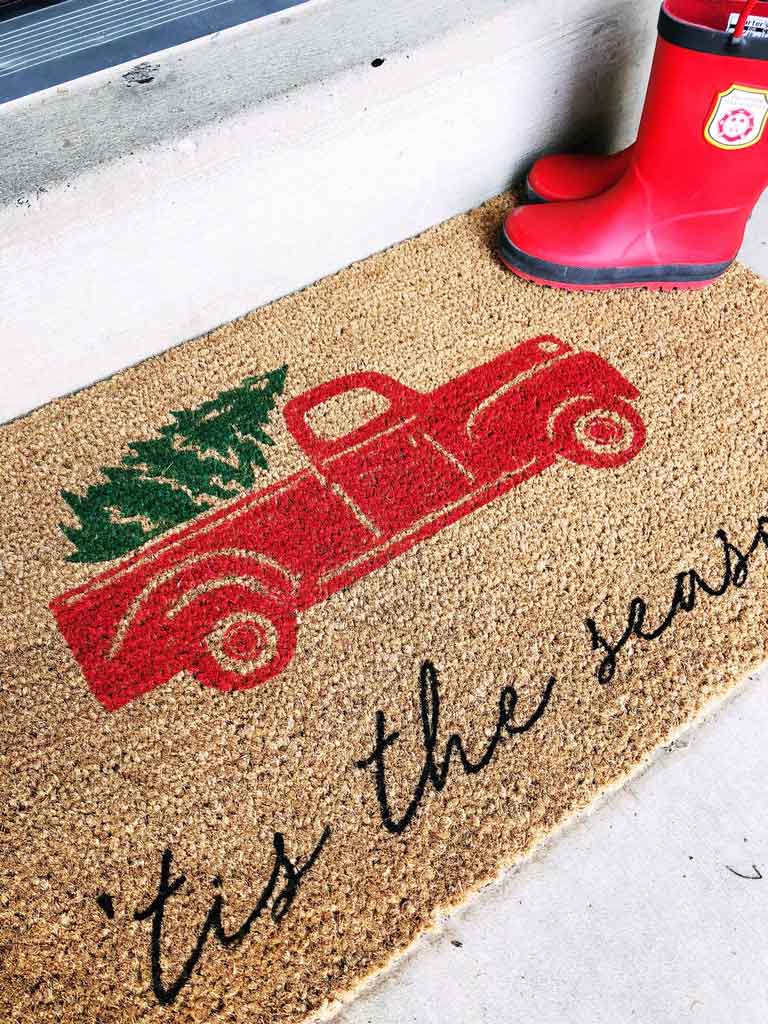
What kind of doormat that should you choose? In this case, the best and probably the most affordable is the coir. This material is made of the outer husk of a coconut. What makes it a perfect choice is the color and its water-resistant properties. Making it perfect to be the surface of your creativity, using some paint and stencil.
The mat itself comes in different sizes and shapes. In this case, the recommendation is the coir rhymes with foyer doormats. You can buy it in many Home Depot stores or event online marketplaces. But worth noting, this material is quite popular. Thus, the stock might be gone very quickly. Anyway, the Christmas doormats are around 10 – 35 dollars based on their size and shapes.
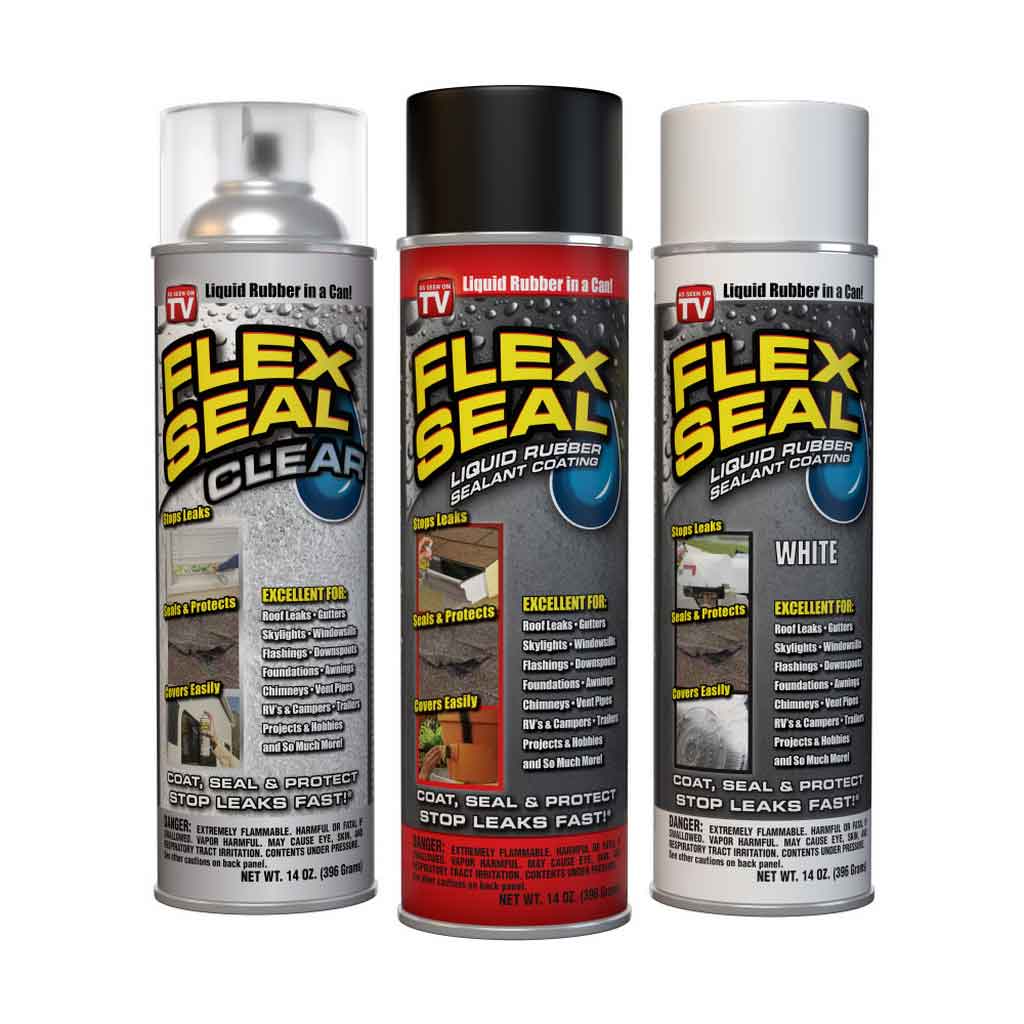
As you look for the mats, get some paints on your hand as well. There are three possible options for you, the flex seal, acrylic paint, and exterior house paint. All of them has a different result. In case you are looking for the best look, the flex seal rubber appears better and absorbed. So, you can choose based on your wise.
-
Making Your Stencil
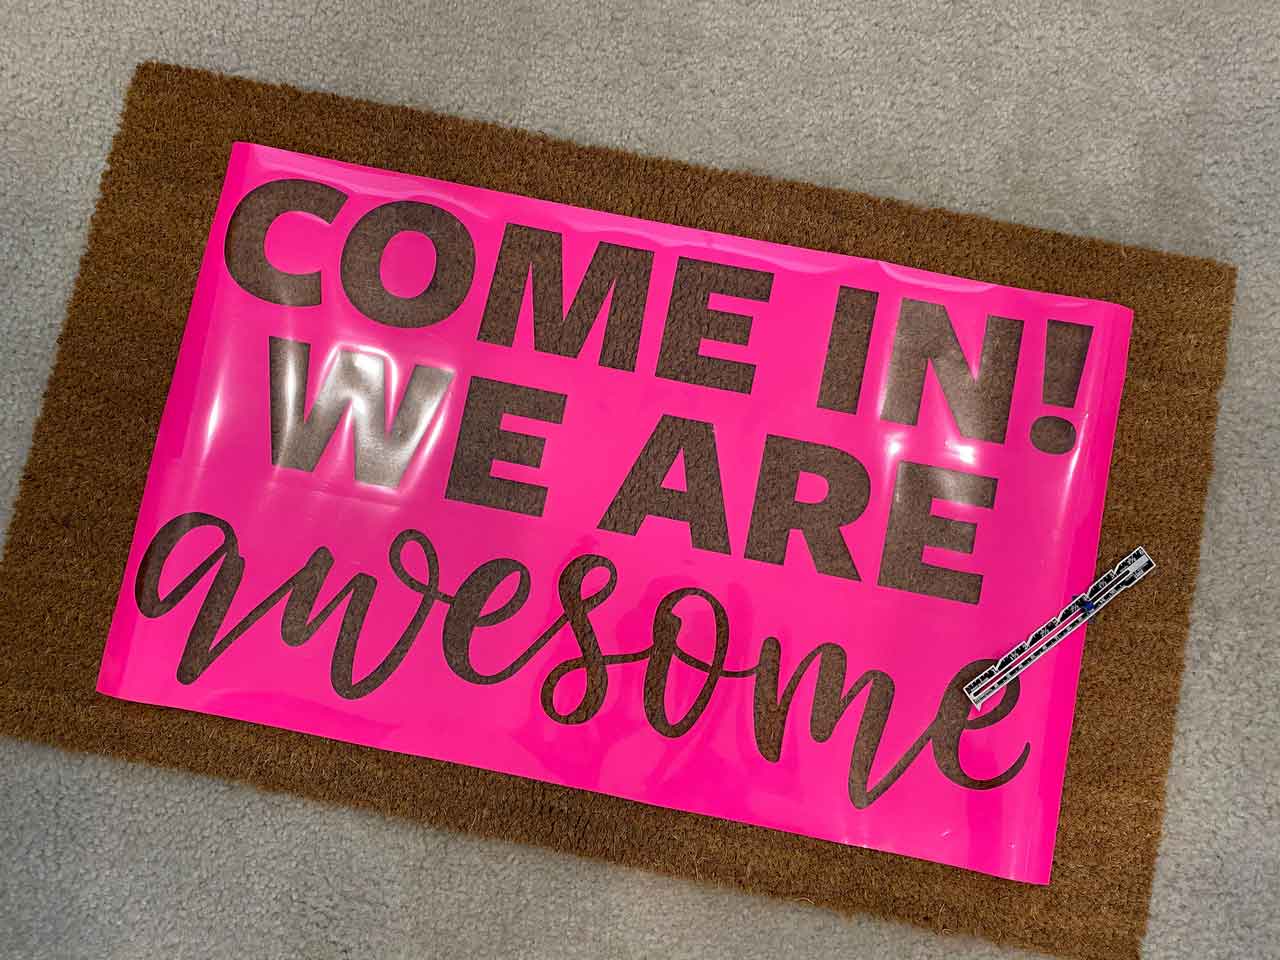
To make painting easier and simpler, you can use a stencil. It also helps to make an event design and precise measure. To make the stencil for your Christmas door mats, then use the picture from the internet or making one with Photoshop. For the material, you can either get the freezer paper (affordable), removable vinyl, or Oramask stencil vinyl.
-
Spray It Down
As you cut down all of the stencils, make sure you place and arrange the design on top of the doormats. No rush! Make sure that all of the stencils stick perfectly on the surface and doesn’t allow any gap. After that, spray it carefully in the cutout area. Thus, the paint will fill up the whole stencil design. Worth noting that it takes time to dry.
-
Seal The Doormat
Since the doormat will be placed outside the room and get much sunlight, then sealing it will help the material stay for long. In this case, you can use spar urethane, Flex seal clear, or UV clear spray. Regardless of your choices, it is better to seal your Christmas door mats so it can stay for the whole special day.
That is all you should do to make the personalized doormats. This technique is very flexible. You can use it for different occasions and special days. Such as thanksgiving to Easter day. All you need is to choose the correct mat, get the paint, stencil, and apply it. Then you should seal it to make the paint last longer and appear vibrant.
See also: Christmas Garland Front Door Hanging Hacks You Need to Know
Here you are at royhomedesign.com, article above How To DIY Personalized Coir Christmas Door Mats And Show Your Joy! published. Many individuals looking for details about christmas doormats personalized and definitely one of these is you, is not it?

