Wallpaper Installation Instructions for Dummies (Part 1)
Wallpaper installation is not difficult. Wallpaper has a durability of up to eight to ten years. Compared with the wall paint in two years has to be repainted because the color tends to dull. Noteworthy is that the wallpaper should be installed on surfaces that are well prepared. Otherwise, disability in the the wall can be seen clearly, and your efforts to be in vain.
Wallpaper Installation Preparation
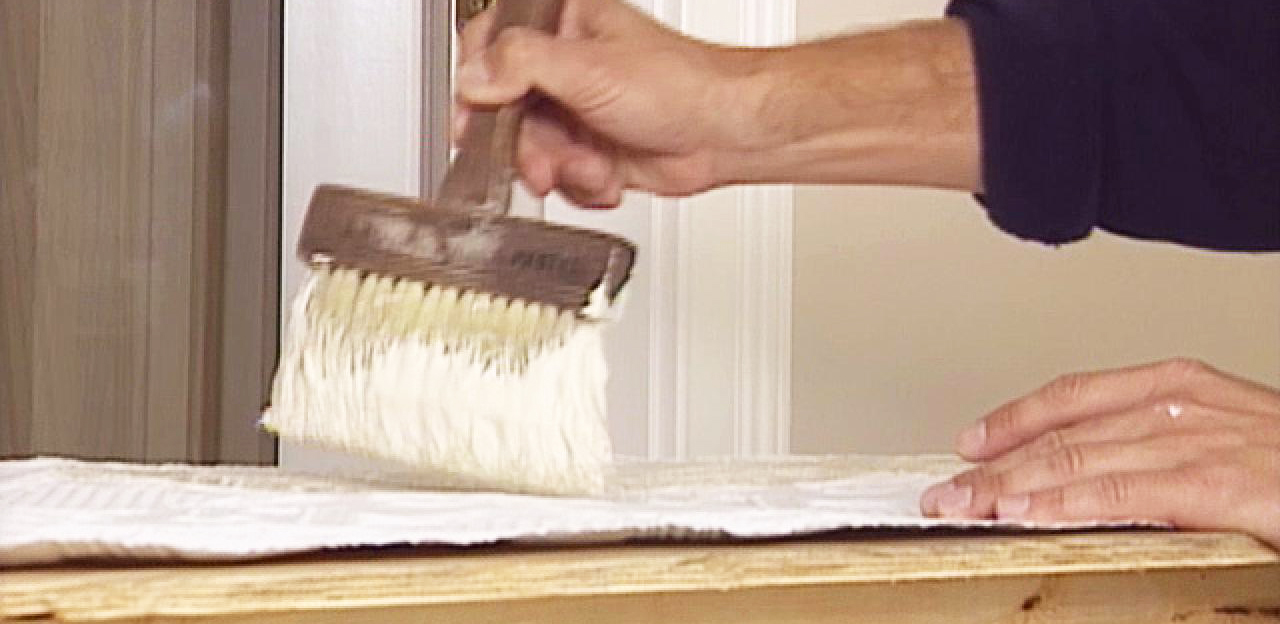
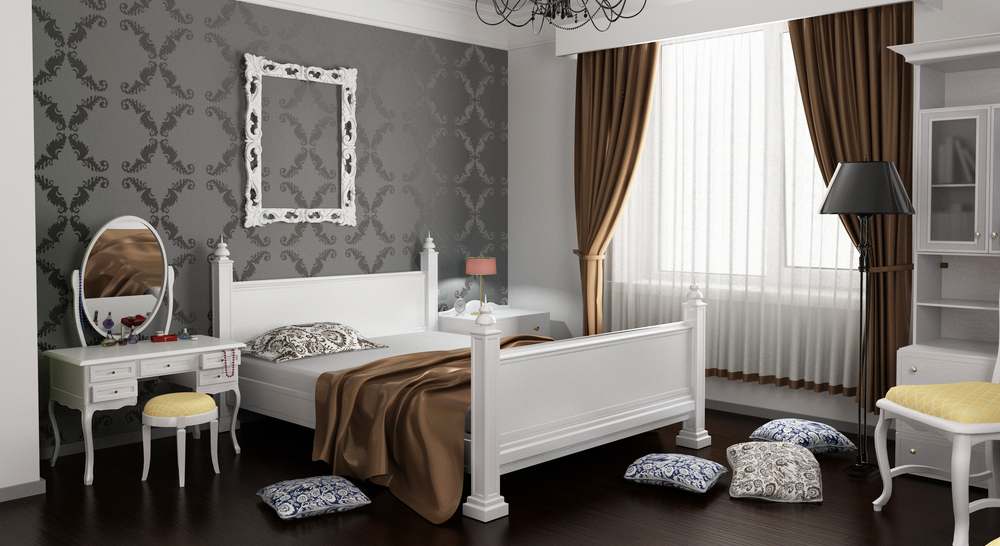
Supposedly the walls in a state of smooth, clean, dry, and if necessary coated with a liquid adhesive which contains anti fungal. To make the wall look different or have a focal point, the creativity when install wallpaper is very necessary. All wood objects should be painted and in dry conditions. Place the adhesive table under the window, facing up to the light, so you can see which parts of which are already bonded.
Wall Preparation
The walls are in good condition may only need to be cleaned with soap or other oil-removal agent elements. Scrape all the plaster is peeling, then cover each small hole and align it with the appropriate closing substances, then sanded down. Re-plastered may be necessary to cover large holes. Leave for a minute so that the new plaster dries.
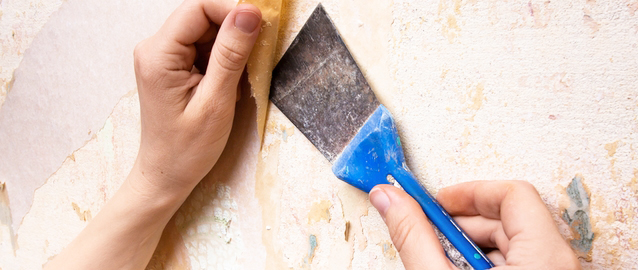
To peel old wallpaper installation on the wall (Wallpaper tips), do one by one. However much easier if you use a tool exfoliant using steam. After peeled, coat the entire surface of the walls with wallpaper adhesive liquid solution, and then let it dry overnight. Scrub and clean the dust with a damp sponge.
Coated paper glued to the wall before painting will improve the surface and disguise flaws and give better results. Coated paper is plain paper which is used before painting or as a pad wallpaper. Coated paper mounted vertically before painting or horizontally before pasting wallpaper.
Wallpaper Installation Equipments
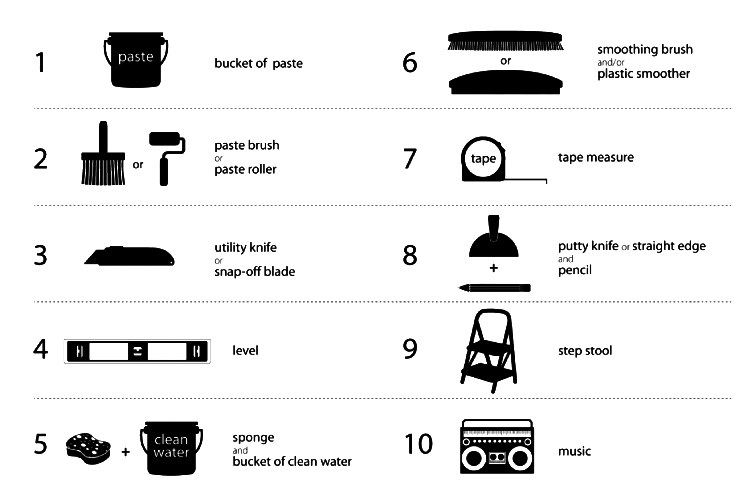
1. Stairs and board foothold or table foothold
2. Tables adhesive
3. Fluid suitable adhesives, large bucket and mixer, or a small tub filled with water for wallpaper ready adhesive
4. Brush adhesive
5. Tape measure and ruler
6. Rope plumb and pencil
7. Scissors with a long blade
8. Brush grading surface wallpaper
9. Sponges
10. Roller for wallpaper connection (not used for embossed wallpaper)
Wallpaper Installation Work Sequence
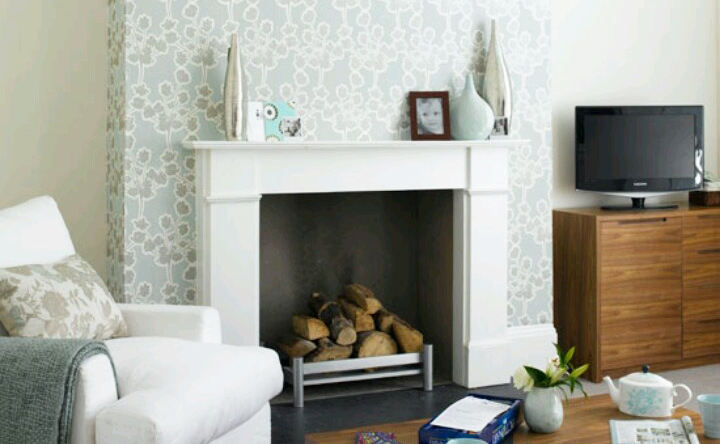
Start from the main window, work continues away from the light to the longest wall with unbroken. When it reached the corner, back to the starting point, and then start working on the other side of the window wall earlier. If the room has a fireplace chimney curvatures, or other focal point, focus the length of wallpaper on the surface and work on the outer side to the left and to the right, along around the corners of the curvatures chimney.
Because the instructions for wallpaper installation is still long, it breaks up here and will be continued at the next discussion. So, that is wallpaper installation instructions for dummies (part 1). Hopefully, this article can helpful for the readers. Thank you for visit our blog. Do not forget to share this article for helpful the others readers.

